Meta tags should not be overlooked when optimizing your site’s SEO.
What is a meta tag?
For the uninitiated, it will no doubt look like double Dutch, but don’t worry!
A meta tag is a piece of information about the nature or content of a web page. This meta tag is added to the header of the page thanks to HTML markers.
They allow a title to be given to a page and provide information to search engines.
And where is it placed?
Now you know a bit more about meta tags, let’s have a look at where they go!
As already mentioned above, tags are added to the header of your HTML page. With PrestaShop, meta tags can be added much more simply!
Using meta tags on PrestaShop
On your homepage,
Follow the steps below to add meta tags to your homepage:
Go to the main menu in the “Preferences” tab and select “SEO & URLs”
Choose the page “index.php”
Then fill in the meta tags!
On your Category pages
For your categories pages, the process for adding meta tags is different:
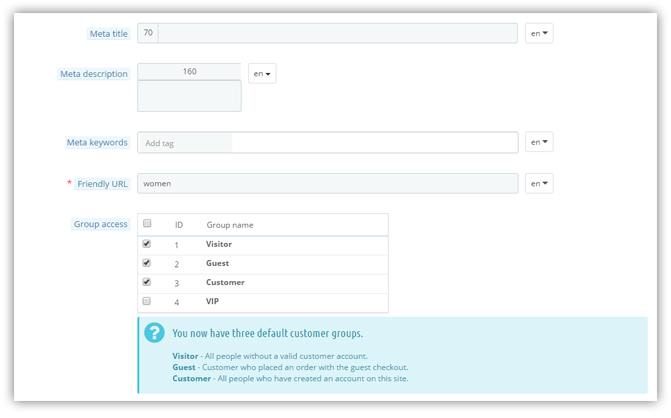
In the main menu, select “Catalog” then “Categories”.
On the left of the screen, you will see a check box, and on the right select the pencil (the cross will delete the category!). You can then edit your categories and add your meta tags! Alternatively, you can of course add them when you create the category.

On your Product pages
For this page, things are done differently again!
Go to the “Catalog” tab, then “Products”.
Once you have the list of your products, select the product you want to tag.
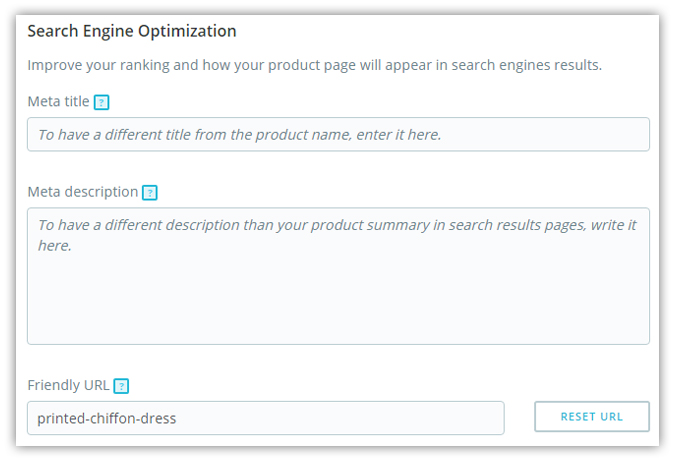
Then select the “SEO” tab to enter your meta tags!

5 mistakes to avoid
- Do not use the same description for several pages or search engines will think you are duplicating your pages, a practice that is not allowed in SEO! So use a unique description for each page!
- Do not list keywords as a description or search engines will classify you as spam. The description should summarize your page and build on the title!
- Do not repeat keywords close to one another!
- Want to make your site available in several languages? No problem! But you need to treat your site as a separate entity to avoid being seen as a spammer because of the repetition!
- Lastly, avoid using accents and special characters, as search engines don’t particularly like them!
You’re now ready to start tagging your site! You hold all of the cards you need to optimize your SEO, so use them wisely! Meta tags are your allies when it comes to your search engine results!


